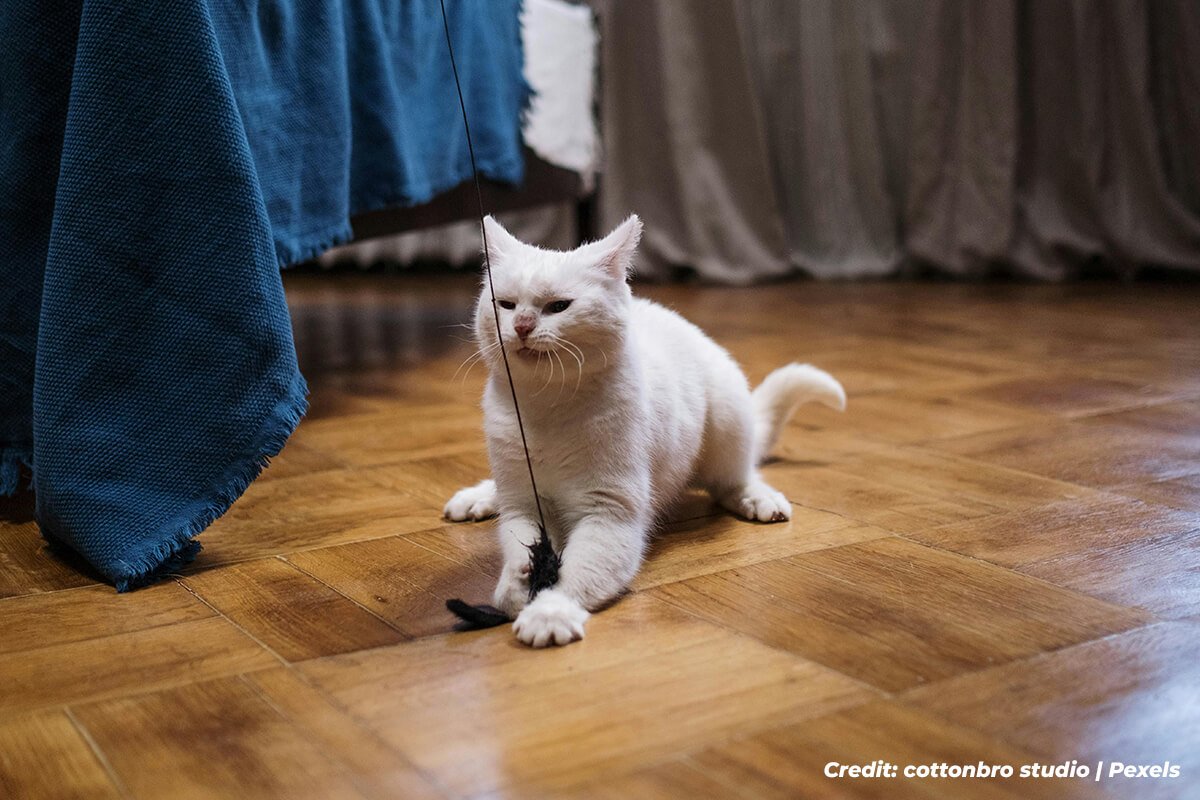
Engineered hardwood flooring is the cornerstone of countless beautiful homes, prized for its classic elegance and superior stability compared to its solid wood counterpart. It’s designed for life, built to withstand the daily patter of feet, paws, and the occasional dropped toy. Yet, despite its durability, life happens. A dragged chair, a dropped can, or grit tracked in from outside can leave behind an unsightly scratch or dent, marring an otherwise perfect surface.
While your first instinct might be to panic or mentally calculate the cost of a professional repair, take a breath. Many common types of minor damage on engineered hardwood floors are well within the capabilities of the average homeowner to fix. This guide will walk you through everything you need to know, from understanding the nature of the damage to the step-by-step processes for restoring your floor’s beauty. It’s time to go beyond the mop and learn the art of floor repair.

Assessing the Damage: Is It a DIY Fix or a Job for the Pros?
Carefully inspect the damage to determine the best course of action. Your repair strategy will depend entirely on the depth and severity of the blemish.
- Superficial Scratches: These are the most common type of damage. They are very fine, often whiteish in appearance, and have only penetrated the protective finish without reaching the wood veneer. If you run your fingernail over the scratch and it doesn’t catch, it’s likely a surface-level issue. These are almost always a simple DIY fix.
- Minor Scratches and Gouges: If your fingernail catches in the scratch, it means the damage has gone through the finish and into the wood veneer itself. The scratch may show the natural, lighter colour of the raw wood. These can often be repaired by a homeowner using filler products, but require a bit more care and attention to detail.
- Deep Gouges and Dents: A deep gouge involves the removal of a piece of the wood veneer, while a significant dent is a noticeable depression in the floor. These are more challenging to repair invisibly. While DIY kits exist, a flawless repair on a deep gouge—especially on a floor with a unique texture or colour—can be difficult. Attempting a fix without the right experience can sometimes make the spot more noticeable.
The Homeowner’s Toolkit: Essential Supplies for Minor Repairs
Having the right tools on hand makes all the difference. You can find most of these items at a local hardware store or flooring specialty shop.
- Floor Cleaner: A pH-neutral cleaner specifically designed for hardwood floors.
- Microfiber Cloths: For cleaning, applying products, and buffing.
- Finish Repair Pen/Marker: These are perfect for light, surface-level scratches. They come in various shades to match your floor’s finish.
- Wax Filler Sticks or Wood Putty: For deeper scratches and small gouges. These are available in a wide range of colours to match your wood species. A kit often includes several colours for custom blending.
- Putty Knife: A flexible plastic putty knife is best to avoid scratching the surrounding floor.
- Fine-Grit Sandpaper (320-grit or higher): For smoothing putty or very gently abrading an area, if necessary. Use with extreme caution.
- Heat Gun or Household Iron and a Damp Cloth: For treating minor dents.
Step-by-Step Guide to Repairing Surface Scratches
For those fine, white scratches that haven’t broken through to the wood, the fix is refreshingly simple.
- Clean the Area: Thoroughly clean the scratch and the surrounding area with your hardwood floor cleaner and a microfiber cloth. Any dirt or debris left behind can interfere with the repair. Allow the area to dry completely.
- Apply the Repair Pen: Select a finish repair pen that most closely matches your floor’s sheen and colour. Shake the pen well and carefully apply it directly into the scratch. Use light, steady strokes, following the grain of the wood.
- Wipe and Buff: Immediately wipe away any excess product from the surrounding floor with a clean, dry cloth. Allow the product to dry according to the manufacturer’s instructions, then gently buff the area with another clean microfiber cloth to blend the repair.

Tackling Minor Dents and Gouges
Deeper imperfections require a bit more effort but are still very manageable.
For Minor Dents (Wood Fibres are Compressed):
- Clean the Dent: As always, start with a clean, dry surface.
- Apply Steam: Place a few drops of water directly into the dent. Cover it with a damp (not soaking wet) cloth.
- Apply Heat: Using a household iron on a high setting, press the hot iron onto the damp cloth directly over the dent for a few seconds. The heat creates steam, which penetrates the wood fibres and causes them to swell back to their original position.
- Repeat if Necessary: Check your progress. You may need to repeat this process a few times for the dent to rise completely. Be careful not to hold the iron in one place for too long to avoid burning the wood.
For Minor Gouges (Wood Fibres are Scraped Away):
- Clean the Gouge: Ensure the gouge is free of any loose splinters or debris.
- Select Your Filler: Choose a coloured wax stick or wood putty that best matches your floor. You can often scrape shavings from multiple sticks and blend them to get a perfect match.
- Apply the Filler:
- Wax Stick: Rub the stick firmly across the gouge until it is completely filled.
- Wood Putty: Use a plastic putty knife to press the putty firmly into the gouge. Overfill it slightly to account for shrinkage as it dries.
- Level the Repair: Use the straight edge of the putty knife or a credit card to scrape away the excess filler, making it level with the floor surface.
- Cure and Buff: Allow the putty to dry and cure completely as per the product directions. Once cured, buff the area gently with a soft cloth to restore its sheen.
Preventative Maintenance: Your First Line of Defense
The easiest repair is the one you never have to make. Integrating these habits will significantly reduce the risk of future damage:
- Use Furniture Pads: Apply felt pads to the bottom of all furniture legs.
- Lift, Don’t Drag: Always lift furniture when moving it.
- Deploy Rugs and Mats: Place high-quality doormats at all entrances and use area rugs in high-traffic zones like hallways and living rooms.
- Clean Smart: Sweep with a soft-bristle broom or vacuum with a hardwood floor attachment (never a beater bar). Clean spills immediately.
- Mind Your Shoes: Avoid wearing high heels, cleats, or heavily worn shoes on your hardwood floors.
By taking a proactive approach to care and a confident approach to minor repairs, you can keep your engineered hardwood floors looking spectacular for years. And for those moments when a problem seems too big to handle, remember that professional help is just a phone call away.
Your floors are a major investment. For extensive damage, plank replacements, or refinishing projects that require an expert touch, trust the professionals. Contact Capital Hardwood Flooring at 416-536-2200 to ensure the job is done right.
