

The “easy installation” reputation of vinyl flooring is a trap. Thousands of Canadian homeowners face failure within three years due to missed nuances, not product defects. Unlike carpet, Luxury Vinyl Plank (LVP) is intolerant of shortcuts, telegraphing every subfloor error. Ignoring structural requirements guarantees buckling, separation, and a total loss of investment.
Why Do Beginners Underestimate Vinyl Flooring Preparation?
The most disastrous errors happen before a single plank is removed from the box. The assumption that vinyl can simply float over any existing surface is the primary cause of failure. Beginners look at the old floor, see that it looks reasonably flat, and start laying planks.
Mistake #1: Confusing “Level” with “Flat”
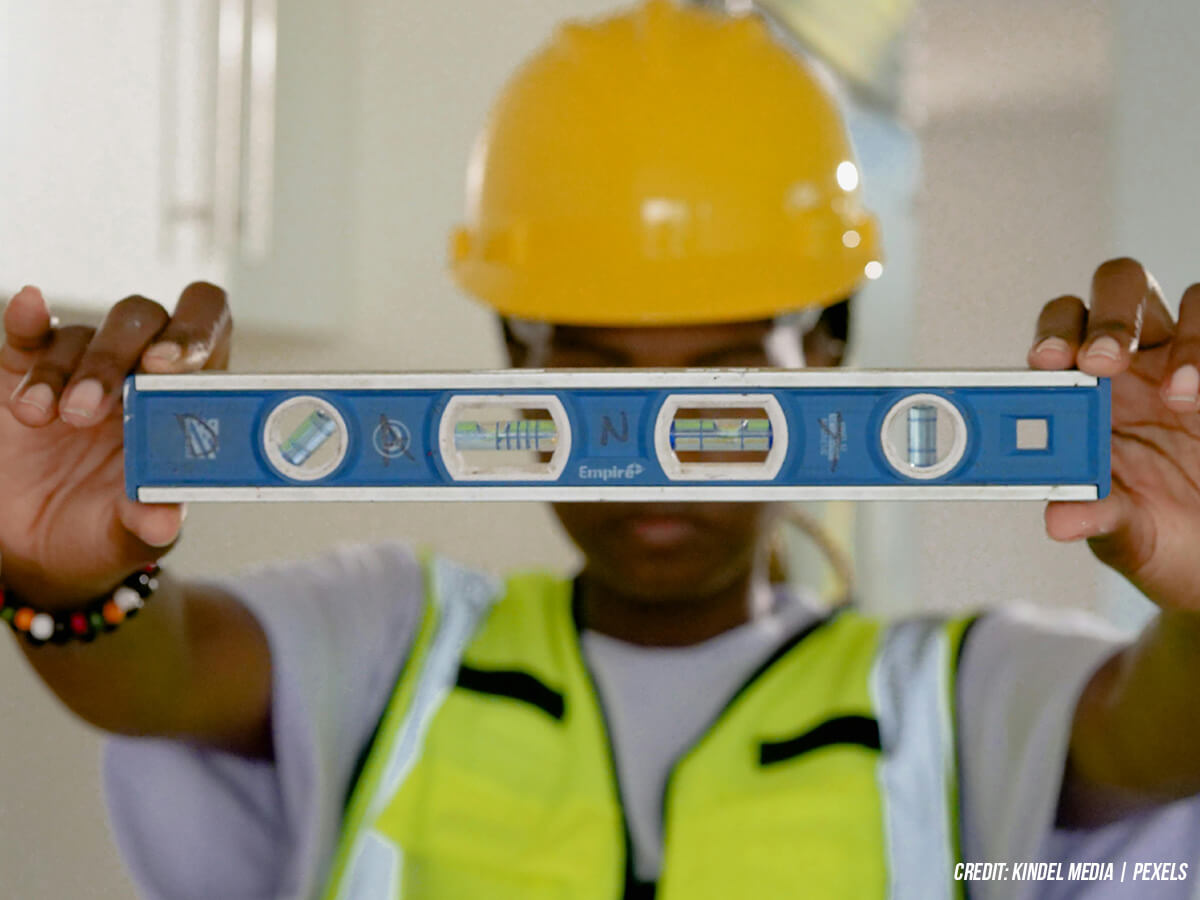
This is the number one killer of click-lock mechanisms. In the construction world, “level” means parallel to the horizon. “Flat” means the surface has no significant hills or valleys. Your floor does not need to be level (sloping slightly across an old room is fine) but it must be dead flat.
- The Tolerance Rule: Most manufacturers specify a maximum deflection of 5 mm over a 3-metre radius.
- The Consequence: If there is a dip in the subfloor that you didn’t fill, the vinyl plank bridges that gap. It might feel solid when you stand on it initially. However, every time you step there, the plank bends down into the void. This vertical movement is called deflection.
- The Failure Point: The locking mechanism is a tiny, brittle ridge of milled stone-plastic composite. It is designed to hold horizontal tension, not vertical flexing. After a few months of bending up and down, that ridge fatigues and snaps. The plank pops up, the seam opens, and water can now penetrate the subfloor.
To avoid this, you must crawl the floor with a long straight edge. High spots must be sanded down (especially on plywood seams or concrete ridges), and low spots must be filled with a cement-based patching compound. If you skip this step, your floor is doomed.
Are You ignoring the “Thermostat Shock”?
Mistake #2: Skipping Acclimatization
You buy the flooring in January. It sits in a freezing delivery truck or an unheated warehouse at -10°C. You bring it into your living room, which is 21°C, and start installing it immediately. This is a recipe for disaster.
Vinyl is a composite material. While Stone Plastic Composite (SPC) is more stable than older versions, it still reacts to thermal shock. If you install cold planks in a warm room, they are in a contracted state. As they warm up over the next 48 hours, they will expand.
- The Lock Stress: If they are already locked together and cut tight to the walls, this expansion creates massive internal pressure. This causes the floor to “peak” or “tent” at the joints, where the planks push up against each other because they have nowhere else to go.
- The Solution: The boxes must sit flat in the room where they will be installed for at least 48 hours (sometimes 72 hours depending on the brand). The air temperature should be consistent, between 18°C and 26°C. Do not stack them more than three boxes high, as the weight can prevent the middle boxes from reaching room temperature.
Is Your Layout Ruining the Aesthetic?
Mistake #3: The H-Joint and the Staircase Effect
Mechanics aside, the visual layout is where amateurs reveal themselves. A professional floor looks random and organic. A beginner’s floor often looks like a deliberate pattern, which ironically makes it look fake.
- The H-Joint: This occurs when end joints line up perfectly in every second row, forming an “H” shape. It draws the eye and makes the room look like a brick wall.
- The Staircase: This happens when you use a fixed offset (e.g., using the cutoff from the previous row exactly as is, row after row). The joints form a diagonal staircase pattern across the floor.
- The Fix: You must stagger your seams randomly. The end joints of adjacent rows should be at least 15 cm to 20 cm apart. Never let a pattern repeat within four rows. This mimics the natural variation of real hardwood.
Interestingly, this visual sophistication is one reason why high-end wood flooring in Toronto remains popular; the installation artistry is often superior. If you want your vinyl to compete with that luxury aesthetic, you have to break the patterns intentionally. Open three boxes at once and mix the planks. This blends the colour variations and ensures you don’t end up with a dark patch of floor next to a light patch.
Are You Locking Your Floor in a Vice?
Mistake #4: The Missing Expansion Gap
We mentioned expansion during acclimatization, but seasonal expansion is a permanent reality. In Canada, the humidity swing between February (dry) and August (humid) causes your home’s structure to move. The walls expand, the subfloor shifts, and yes, the vinyl moves.
Beginners often think a gap at the wall looks ugly, so they fit the planks tight against the drywall or the baseboard.
- The Pinch Point: When the summer heat hits, the floor expands. If it touches the wall, the force is transferred inward. The floor will buckle in the centre of the room, lifting inches off the subfloor.
- The Heavy Obstacle: This error also applies to kitchen islands and heavy cabinetry. You cannot install floating vinyl flooring under fixed heavy cabinets. The weight of the island pins the floor down, preventing it from moving. When the rest of the floor tries to expand or contract, it tears apart at the island boundary.
- The Requirement: You must leave a 6 mm to 10 mm gap around the entire perimeter, including around pipes and door jambs. This gap is later covered by baseboards or quarter-round moulding.
Are You Doubling Down on Softness?
Mistake #5: Adding Extra Underpad
“If one layer of foam is comfortable, two must be better!” This logic is sound for sleeping bags, but fatal for flooring. Many premium luxury vinyl planks come with an attached underlayment (usually cork or IXPE foam). Beginners often buy an additional roll of soft foam underpad, thinking it will add warmth and soundproofing.
- The Soft Support Issue: By adding extra soft material, you introduce too much “give” under the floor. When you walk on the floor, the plank sinks into this double layer of foam.
- The Mechanism Break: Just like with an uneven subfloor, this vertical movement puts excessive strain on the locking system. The locks will disengage or snap.
- The Rule: Never use additional underlayment unless the manufacturer specifically approves a specific type (usually a dense, rigid rubber, not soft foam). If your plank has an attached pad, it is designed to go directly on the subfloor.
Did You Choose the Wrong Sustainability Grade?
Mistake #6: Ignoring the Composition
Don’t sacrifice chemistry for colour. While cheap vinyl relies on virgin plastic, according to a study, Eco-Luxury Vinyl Plank (eLVP) flooring uses recycled HDPE (rHDPE) to reduce plastic waste and improve environmental and health issues, while lowering production costs (Nhari et al., 2023).
Ignoring these composite advancements often results in higher VOC exposure and weaker stability, whereas recycled cores offer denser, impact-resistant durability.
Are You Destroying the Edges During Install?
Mistake #7: The Hammer Tapping Error
Vinyl click systems are precise. They are not designed to be bludgeoned into place. Beginners often use a tapping block and a hammer to force gaps closed.
- The Damage: If you hit the tapping block too hard, or if the block is not sitting perfectly flat against the edge, you will shave off a tiny hairline of the locking profile.
- The Result: You won’t see it immediately. The plank will look installed. However, that shaved plastic was the only thing holding the plank down. Over the next few weeks, as you walk on it, the plank will start to lift or separate.
- The Technique: If a plank isn’t clicking in easily, stop. Check the groove for debris (sawdust is a common culprit). Check if the previous row is perfectly straight. Never force the lock. It should engage with a crisp click, not a thud.
The Professional Edge: Why Service Saves Money

Installation is a technical skill, not just manual labour. Paying for a professional is often cheaper than replacing a botched personal job three years later. Pros bring diagnostic experience that ensures longevity:
- Moisture Testing: Pros use hygrometers to detect hidden concrete moisture and apply the correct vapour barriers; steps beginners often skip.
- Subfloor Levelling: Mastering self-levelling cement is difficult. Pros ensure the subfloor is flat as glass, preventing lock failure.
- Seamless Detailing: Instead of messy cuts around door frames, pros undercut the jambs, sliding the vinyl underneath for a factory-finish look.
- Strategic Layout: Pros calculate measurements to avoid structurally weak, unsightly slivers of plank at the walls.
Ultimately, professional installation is your insurance policy. Most manufacturer warranties are voided by improper prep; a pro ensures your investment remains protected.
Get It Right the First Time
Flooring is your home’s foundation, but even robust vinyl relies on precise installation to survive the Canadian climate. Don’t let a levelling oversight turn your dream renovation into a buckling nightmare.
For the highest quality installation and selection of vinyl flooring in Toronto, contact Capital Hardwood Flooring. We ensure every millimetre is prepped for longevity. Call us at (416) 536-2200 today to stop guessing and start building a home that lasts.