
The Canadian holidays bring celebration, but also snow-laden boots and spills that can leave floors dull. While wood-look vinyl flooring is resilient, it is not invincible against winter messes. To ensure your home looks its best for every gathering, your floors require more than a quick sweep; they need a strategic deep clean to restore their showroom shine.
Why Does Vinyl Flooring Lose Its Shine in Winter?
Dullness is rarely damage; it is usually surface contamination. In a Canadian winter, grit and corrosive road salt dry into a hazy film on your wood-look vinyl flooring. Standard cleaners often compound the problem by trapping this salt under wax or surfactants. Restoring the shine isn’t about adding polish; it is about stripping away these contaminants to reveal the beauty underneath.
Step 1: How Do I Prepare the Surface for a Deep Clean?
The most common mistake homeowners make is introducing water too early in the process. If you mop a floor that still has loose grit and salt crystals on it, you are essentially creating an abrasive paste that can scratch the wear layer of your vinyl.
The Dry Clean Protocol:
- Remove Obstacles: Start by clearing the room. Lift dining chairs, move area rugs, and clear the “landing zones” near entryways. You cannot clean effectively if you are navigating around furniture legs.
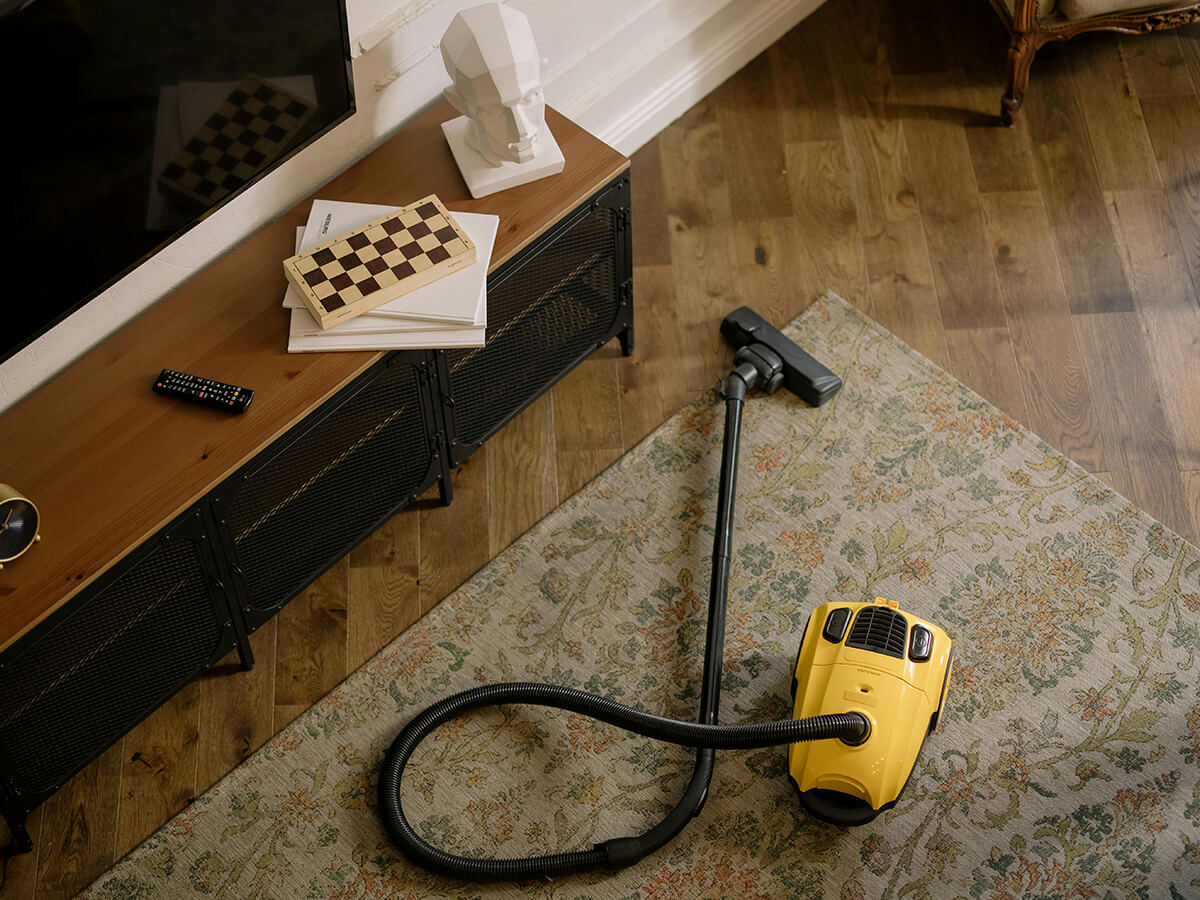
- Vacuum with Precision: Use a vacuum cleaner set to the “hard floor” mode. This disengages the beater bar (the rotating brush), which is designed for carpet and can sometimes leave micro-scratches on vinyl. Focus intently on the corners and baseboards where dust bunnies and salt particles migrate.
- The Microfiber Sweep: After vacuuming, run a dry microfibre dust mop over the surface. This electrostatic cloth will pick up the microscopic dust that the vacuum might have missed, ensuring the floor is perfectly debris-free.
Step 2: What is the Right Cleaning Solution for Salt and Grime?
Avoid vinegar, bleach, and ammonia; these harsh chemicals degrade finishes and compromise structural integrity. For a holiday-ready shine, use a pH-neutral cleaner formulated for LVP to lift dirt rather than smear it. If facing heavy salt stains, treat the area with a specialized “salt neutralizer” first to dissolve crystals safely without scrubbing.
Step 3: What is the Most Effective Mopping Technique?
The tool you use matters just as much as the solution. The old-fashioned string mop is the enemy of a clean vinyl floor. It pushes dirty water into the grout lines (if you have tile-style vinyl) or the seams between planks, where it sits and causes swelling or mould issues.
The Two-Bucket Method: To achieve a professional level of clean, adopt the two-bucket system.
- Bucket One: Contains your warm water and pH-neutral cleaning solution.
- Bucket Two: Contains plain, clean rinse water.
- The Process: Dip your microfibre mop into the cleaning solution and wring it out until it is damp, not dripping. Mop a 4×4 foot section of the floor. Then, rinse the dirty mop head in the clean water bucket and wring it out tightly before dipping it back into the cleaning solution. This ensures you are always putting fresh cleaner on the floor, rather than redistributing the dirt you just picked up.
Step 4: How Can Technology Assist in Maintenance?
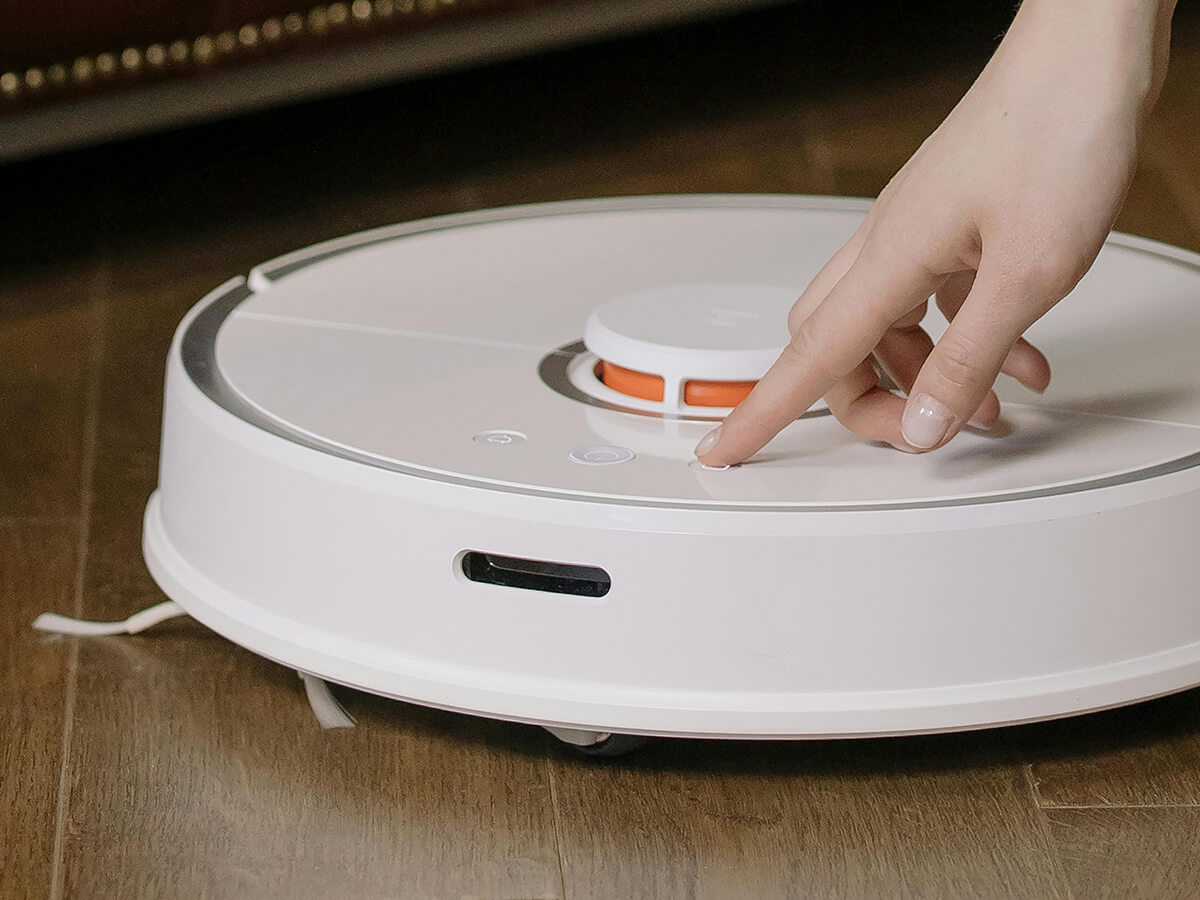
For those hosting multiple events back-to-back, maintaining that deep clean can be exhausting. This is where modern technology can serve as a valuable ally.
According to a study, floor cleaning robots effectively remove moisture, grime, and stains from floors, while avoiding obstacles and promoting sanitary, eco-friendly, and time-efficient floor maintenance (Ingale et al., 2025).
Running a robotic mop between deep cleans maintains baseline hygiene by handling daily crumbs and dust. While they cannot replace manual scrubbing, they extend the life of your clean, freeing up valuable time for hosting duties.
Step 5: How Do I Eliminate Streaks for a Flawless Finish?
Nothing ruins the look of a freshly cleaned floor faster than drying streaks. These occur when residual water evaporates, leaving behind trace minerals or leftover cleaning agents. This is particularly noticeable on dark wood-look vinyl or high-gloss finishes.
The Drying Drill:
- Don’t Air Dry: Never let the floor air dry completely on its own. This is the primary cause of spotting.
- The Final Buff: Immediately after mopping a section, follow up with a clean, dry microfibre towel. You can wrap this around a dry mop head or simply push it with your foot.
- The Grain Rule: Always wipe and buff in the direction of the plank’s grain. Doing so will help camouflage any tiny residual streaks within the texture of the wood pattern itself. This step is the secret weapon of professional cleaners; it removes the last bit of moisture and polishes the wear layer to a brilliant, streak-free shine.
Step 6: How Can I Protect the Shine During the Party?
You have achieved the perfect look; now you need to protect it from the guests. The most damaging elements to your vinyl floor during a party are high heels (which can dent) and grit (which scratches).
The “Defence in Depth” Strategy:
- The Mat System: Place a coarse “scraper” mat outside your door and a long, absorbent runner inside. This double barrier captures 80% of the moisture and grit before it hits your vinyl.
- Protective Pads: Check the feet of your furniture. If you are bringing in extra folding chairs for dinner, ensure they have rubber or felt caps. Metal legs on vinyl are a recipe for deep gouges.
- The Spill Kit: Accidents happen. Keep a small “emergency kit” nearby containing a microfibre cloth and a spray bottle of your neutral cleaner. Blotting a red wine spill immediately prevents it from becoming a sticky, stained problem later.
Is Polishing Ever Necessary for Vinyl?
Unlike traditional wood flooring in Toronto, modern vinyl rejects wax, leading to messy, peeling buildup on the urethane wear layer. For older floors that have lost their lustre, use a specialized “vinyl floor restorer” instead. These products bond to the surface to fill micro-scratches and restore shine. Always test in an inconspicuous area first to ensure proper adhesion.
When Should I Call a Professional?
If deep cleaning fails to restore shine, the wear layer may be compromised, exposing the vulnerable print underneath. Flooring experts can determine if restoration is possible or if the floor has reached its end. They also offer commercial-grade cleaning with specialized equipment to lift embedded grime, a perfect investment to establish a pristine baseline before the holidays.
Host with Confidence on a Flawless Foundation
Your floors set the tone for holiday memories. By following these steps, you ensure the warm, inviting atmosphere your guests deserve. However, if your floors show age that cleaning cannot hide, trusting an expert ensures the right upgrade. For premium solutions, including the finest vinyl flooring in Toronto, connect with Capital Hardwood Flooring at (416) 536-2200. Make your home shine from the ground up.